Jun 5, 2013

A Warm Welcome


A home's entryway is like a warm 'hello' and can make a great first impression...or it can make a stinky one.

We have been working on improving our entryway over the years, and really tackled it through our whole house remodel. I have blogged about the tiny area in little bits over the past couple of years, but seeing the progress in one short post is a little crazy to me. Wow. Our 'welcome' space got a whole lot warmer!


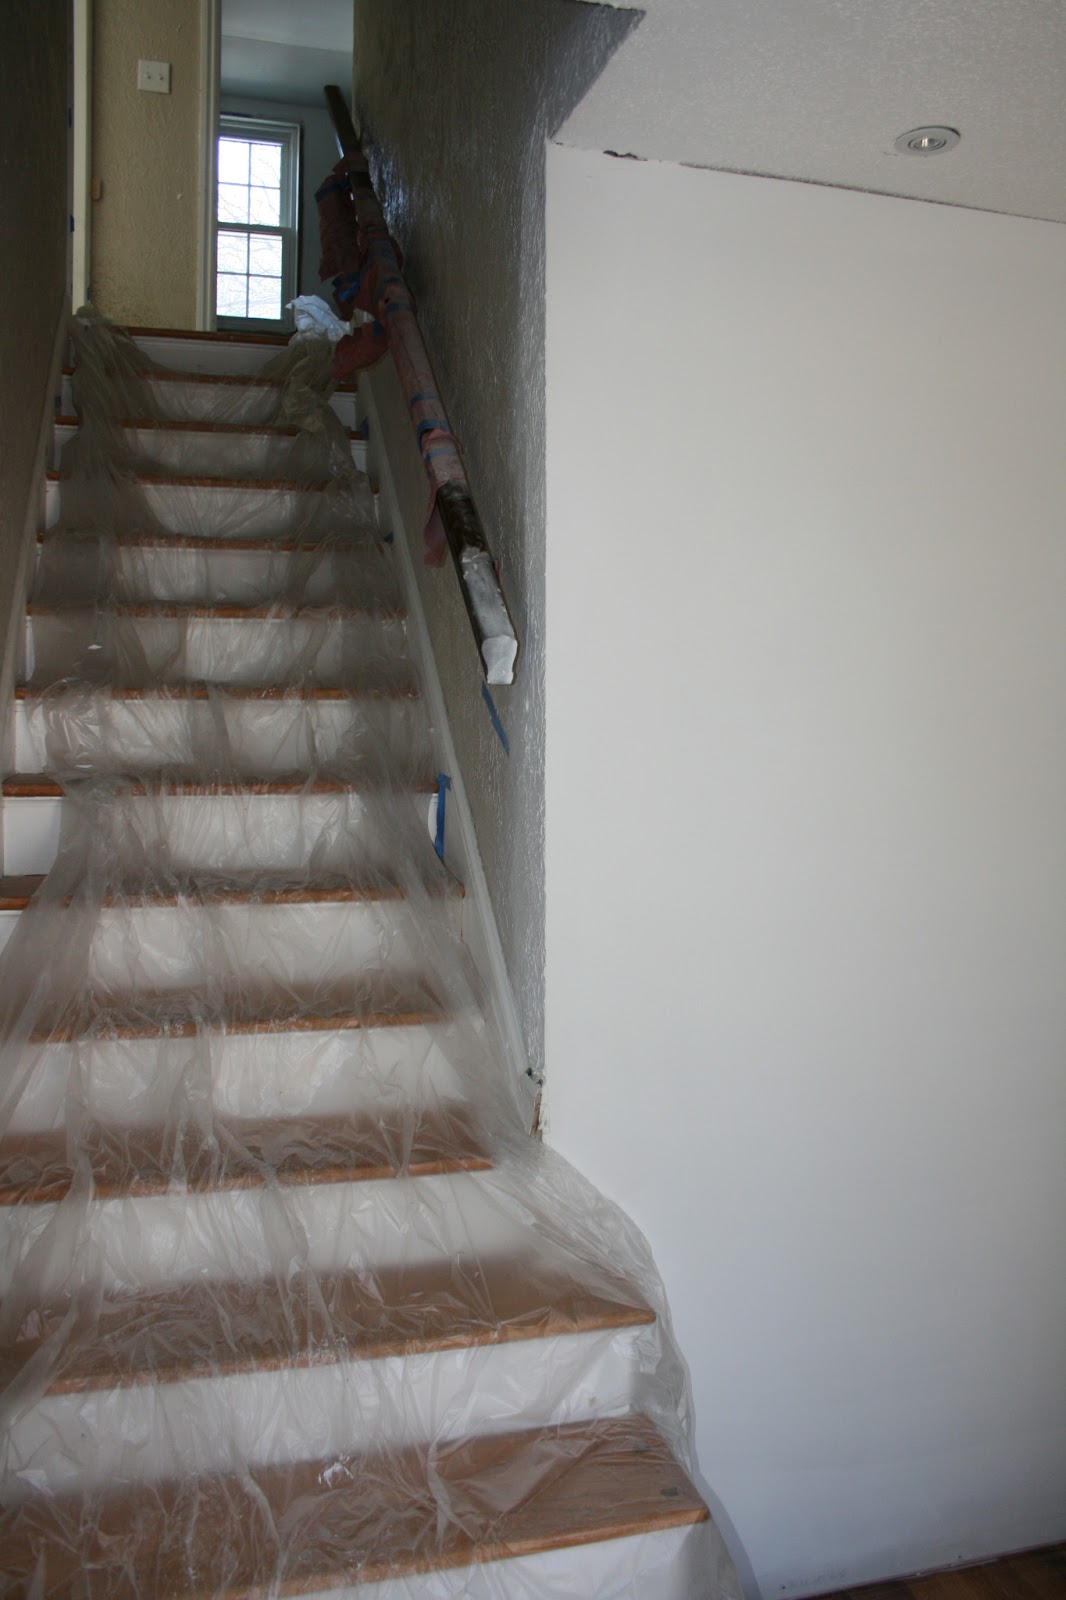
Before:
On the left you can see the hallway that used to be next to the stairs, and on the right you can see the color of the old flooring and treads as well as the wall that came to the end of the steps.
During:
First we opened up the wall that had blocked off part of the stairs...it made the house feel SO much bigger and more open!
Then a new wall was built to close off the hallway (it became our master bedroom closet from the other side).
The treads were very squeaky, so they all were taken up, planed down, and reset to be more sturdy and quiet. We also made the bottom 4 steps wider.
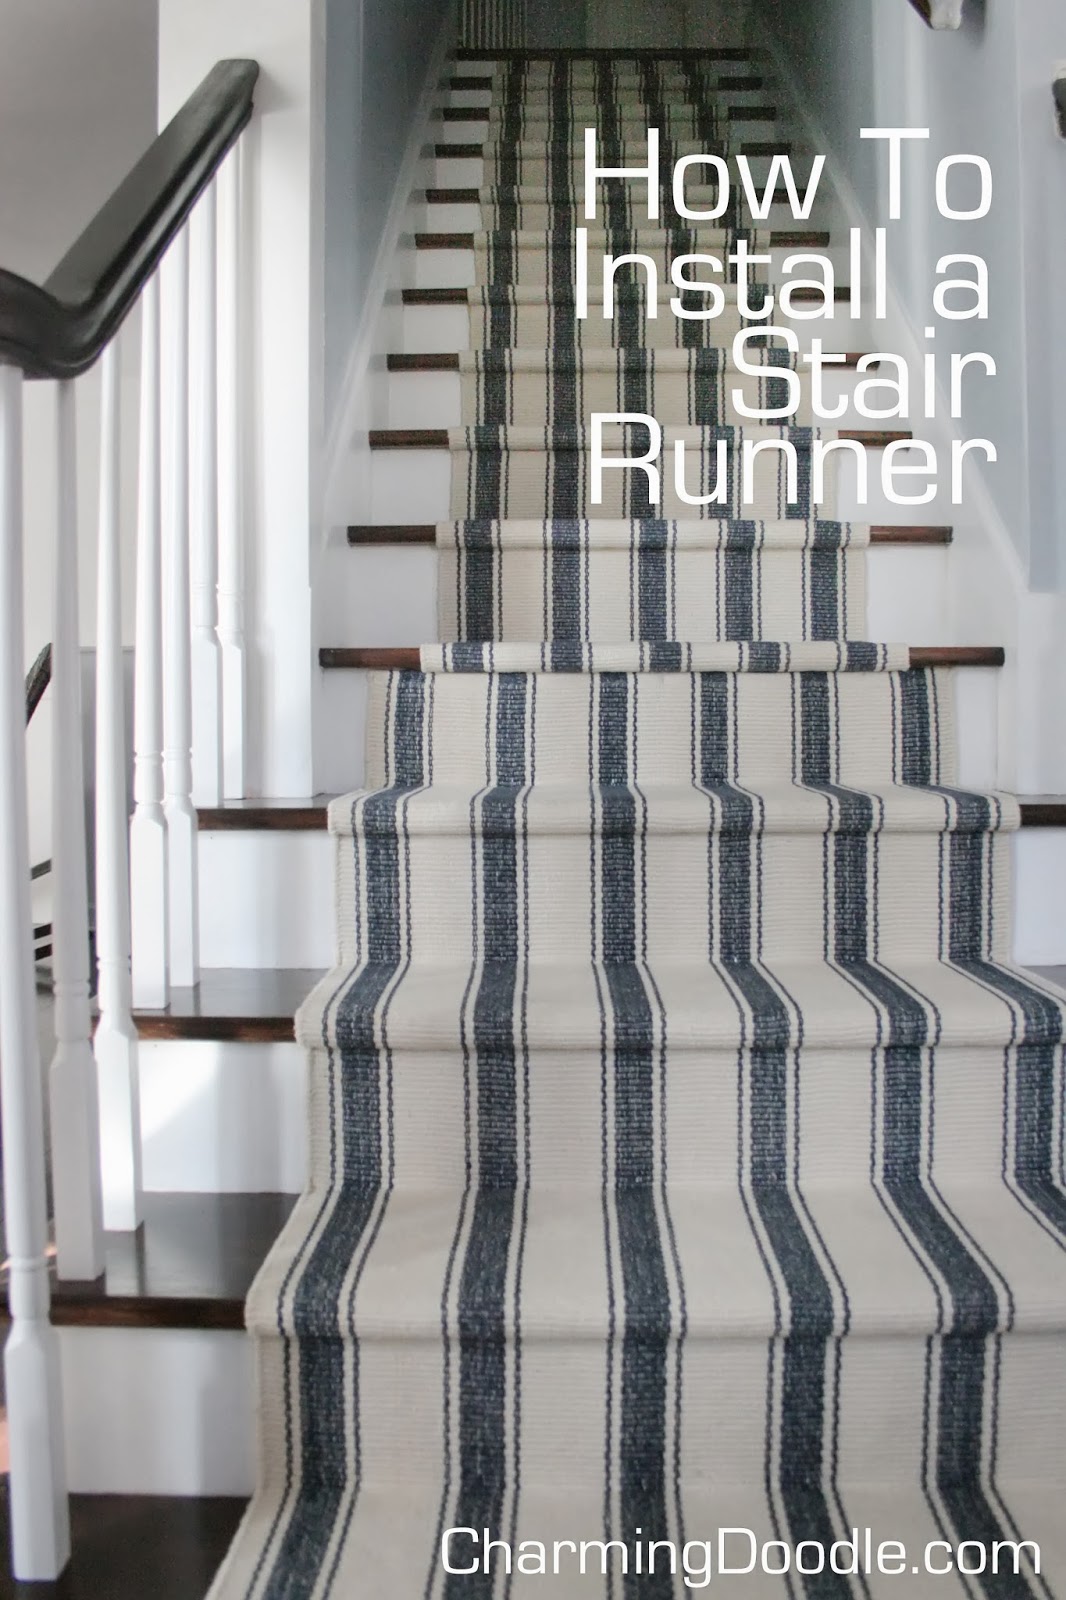
Finally, the steps were stained to match the rest of the hardwood floors in the house (that we redid) and we made the decision to put a runner on them. (here's the tutorial on installing the runner)
After:
Even though we still have a few things to finish up in the entryway, it feels much more light, bright, and welcoming! (and WAY more functional)
Welcome Remodelaholic readers. What do you think?

Still on the to-do list for this area: There is currently a big hole in the wall next to the front door that we left open so a doorbell wire could be pulled through. We also need to more firmly attach the handrail and repaint it. Then the blue wall color needs to be touched up because of some 'loved' spots. But overall, we love it!

Wall Color: custom blend...it took me weeks to get a color I like and I'm not sure I can replicate it exactly. :(
Trim paint: Sherwin Williams Super Paint (un-tinted)
Initial Knobs: Hobby Lobby (more details on the built in hooks here)
Stair Runner: Dash & Albert Blue Awning Stripe
Collage wall art: details here
Bench: Hancock Fabrics

Mar 11, 2013

a place to sit

We were on a little vacation last week (pics to come) and I didn't get a single post scheduled before we left. I had planned on posting about our newest hallway addition last week...but here it is, better late than never.

We finally found a bench for our entryway! It's a tight space and most benches I liked didn't come close to fitting. We were planning on just making one (someday) but I stumbled across one at Hancock Fabrics one day and with a 50% off coupon...it was cheap (around $80)! I had seen some like it but they were in the $200 range so this worked out perfectly.
Here's a peek at the bench. But to get the real picture of what a difference has been made in this little space, we have to back up to pre-water damage.
Here's my baby Emma when she was just learning to cruise along furniture. The hallway to the right of the stairs is now the wall with the bench. Elliott just looks so tiny in these pictures too! The stairs were his favorite place to play.
Here's a look at the front door from the extra bedroom downstairs. The door to the hallway is now our master bedroom closet door and the hallway is our closet. The back of the closet wall is where the bench now resides (the bench is placed about where Emma is in the picture below).

Here are some in-progress shots. You can see the wall in various stages of being done to close in the hallway.
Once things were put together a little more and we moved back in, this is the first wall I put pictures on.
And now we finally have a bench to use when putting shoes on. I'm toying with the idea of making or buying a cushion for it. For now, the grass-ish material on the top is working just fine. I bribed Henry to sit here for a picture and he tried to read a book to you through the camera. :)
He's still working on getting his own shoes on. He does well putting everyone else's shoes on and proudly wears Daddy's shoes or Elliott's around the house most of the time. But with his own, apparently it's a lot harder.
Ahhh, it's nice to see the little details coming together.

May 1, 2012

It's about time

A home just doesn't feel like home until there are a few pictures on the wall! And we FINALLY have made at least one wall a little more home-y.

I was inspired by the monogram wall here and the hallway of frames here. Eventually I plan to do several frame collages but for starters, I chose to do the entryway. It's like a nice little 'HELLO' when you walk in the door.

Here was my process:

First I brought out all of the frames I have stashed away in the house and also used a 20% off total purchase coupon at Michael's to buy more frames (that were already on sale 50% off). Score! But, as you can see, there was quite a mess of materials on my table while I figured out what I wanted to use.

Once I chose the frames I wanted I laid out a template on the wall (this is the technique I got from Young House Love at the link above).
Then it was time to put some pieces together and get them ready to hang. I had some empty frames stashed away that used to hold cute animal prints in the kids' nursery. I sold the prints at our garage sale last year...but one woman who bought two of the prints mentioned to me that she would just throw the frames away. So I asked to keep the frames and still sold her the prints. The empty frames are now the perfect thing to hold a handprint from each of my babies!
I just tacked the handprints to the inside back of the frame. Eventually I'll probably add some fabric behind these...or do something different to change them up. But for now, they work.
I also decided I wanted a little chalkboard for my wall of frames. I chose a frame I liked and Michael cut a piece of MDF to fit the opening. We painted it with chalkboard paint and then used glazing points to keep the MDF in place in the frame. Glazing points can be found at any hardware store and are handy little things (and cheap). They are sharp points that are used to hold glass in old windows. You simply push them into the wood frame and voila!
The final step when using chalkboard paint is to 'season' it by covering the surface with chalk. Then I wrote out a message using a chalk marker. Sadly, I bought a fat tipped marker instead of a fine one so I'm not super excited about the results...but the fabulous thing about chalk pens is there's no chalky dust! Awesome!
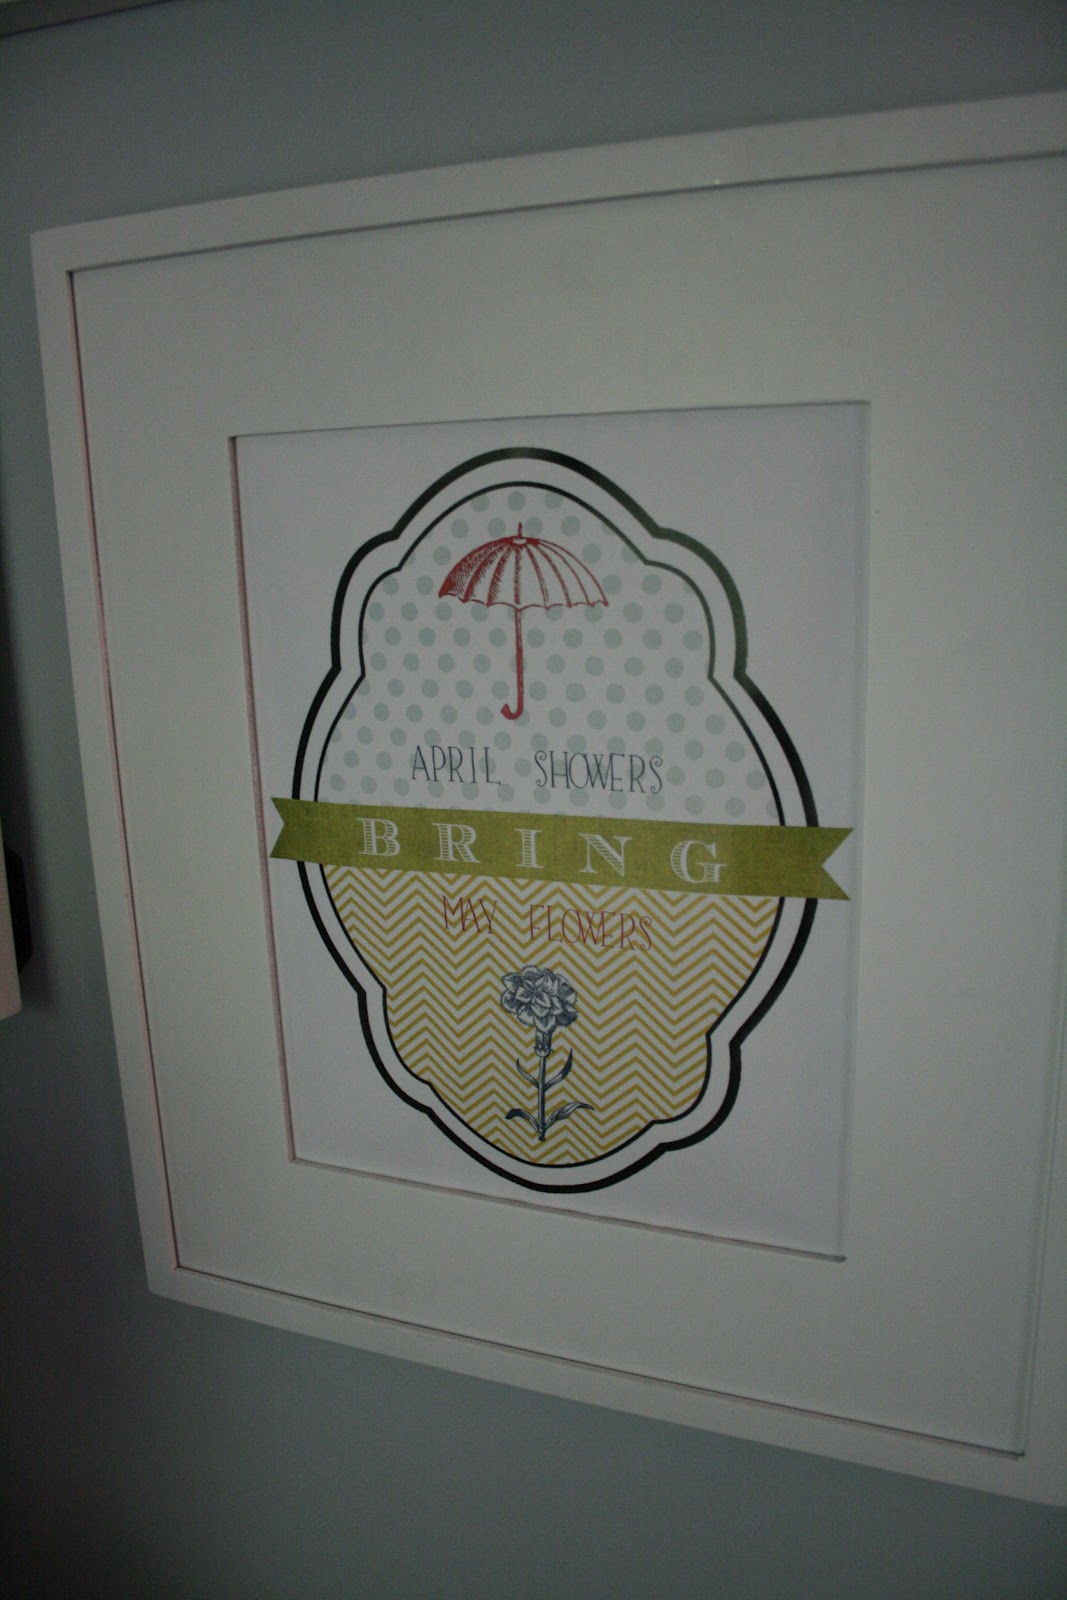
I found a fun (free) art print here that had the PERFECT colors for my wall. I'll eventually change this out with some of Elliott's drawings from preschool, but for now I'm loving it!
I bought this little key holder at Hobby Lobby a l.o.n.g time ago but we didn't know where we'd hang it. I like having our keys in one accessible place now. Above the keys is a shadow box that I took the glass out of and added a little zinc 'C' I picked up in a local antique store.
At Michael's I also picked up some fun patterned paper and lots of different sized 'C's. I love the mustard-y colored paper you see below. And I spray painted one of the wood Cs a reddish-orange color and mounted it on corrugated paper. It was my first time trying spray adhesive. Interesting stuff.
Here's the whole wall put together. Just imagine it with a cute little bench underneath (which I have yet to find). I'll probably make some more additions and changes but....ahhhhhhh...it feels great to finally have a little personality on our walls!


Mar 18, 2012

Come On In

Our entry is still a work-in-progress but it's coming along nicely. With the stair project mostly behind us we are starting to really think about where and how to build some storage for our front entry since we have no coat closet.

I think I finally came up with a design that will work that will involve some new built-ins in our dining room (which is directly off our entry). I'll keep you posted when we begin that project...I'm pretty excited about it!

For now, we have a cute and fun fix to help keep coats and backpacks off the floor. We used to have a coat rack in a little corner behind our front door but we moved it into the upstairs bathroom because we have no towel hooks up yet. (Remember...we're taking baby steps with the finishing work in an attempt to just get the main areas livable. So things like towel hooks and toilet paper holders are quite low on the priority list.)

Here's how the front entry looked last summer. The area I'll show you is where the blue tape is in the picture below.
This is how the same area looked in December.
(Notice how my wonderful husband smoothed out the texture from all of the walls in the entry? He also removed the texture from the walls going up the stairs and into the hallway on the second floor AND scraped down the ceiling so it's nice and smooth. A crazy difficult mess that made the whole area so.much.better!)

Onto the coat/backpack solution...I found some little knobs at Hobby Lobby in the clearance section for 25 cents a piece! They had ALL of our initials in stock and then I bought 2 additional blank knobs (not on clearance but were about $4 each) for guests to use.

The hubs mounted the knobs to some leftover pieces of base molding we had on hand and we just mounted the base molding upside-down. The knobs for our guests and the one for hubs and me are at the top (since we can reach).
 And the kids each have their own special hook on the bottom set at just the right height for them.
Then we finally got a light fixture in the entry (it's actually an outdoor lantern fixture but I fell in love with it when I saw it...and really fell in love with it after I learned that it was only $25 from the special order dept at Menards)
Now the whole entry feels much more finished. Soon enough we'll get around to adding pictures on the walls and getting a bench for the wall opposite our hooks in the entry. All.in.good.time.

Mar 6, 2012

the winning runner revealed


Thanks for all the great comments and thoughts about our stair runner choice. Most of the votes were split between option number 1 and 2 from our previous post with lots of commenters and facebook friends saying they liked number 2 and 5.

We liked them all for different reasons but installed our choice this past weekend.

Before I show you that...let me show you how our stairs looked the day before the runner was installed:
Isa likes to line her babies up for naps and it makes me giggle to see them on the stairs like this. (and I have no idea why none of them have clothes...hmmmm)

OK - down to the reason for this post. For review, here are the choices we had.
And we chose runner number...............ONE!

A couple thoughts on some of the other runners...
#2 - We liked it but once we saw it on the stairs the main color that popped out was the orange in it. If we would have had orange on the main level somewhere...anywhere...we would really have liked it, but we don't so it just didn't flow well.
#3 - It's really similar to the one we chose and our dining room rug...but we thought it might make us a little dizzy if there was a huge amount of those tiny stripes. And being dizzy while walking down a set of stairs is a little dangerous. :)
#4 - LOVE! I loved this one. The sample we were sent was actually a pillow sham and guess what....we kept it! It's my 'second option' for bedding so when I get antsy and want to change the look of our bed I get out this monster sham and it's perfect!
#5 - I also loved this one but didn't like the feel of it since it was a really scratchy outdoor fabric. Great for cleaning, I'm sure, and the look was perfect...but not the right choice knowing my baby had to crawl up and down the stairs for a while on a brillo pad-ish fabric. Ouch.

Where are these rugs from?
I sourced lots of different rugs and finally found Dash&Albert. They are by far the most beautiful and stylish for the money. It turns out that a nearby store was a dealer for them and shipped everything to us for free which was also a bonus.

Here's the process:
The first step was to touch up painting on the white backs of the stairs and the ballusters. There were some little splashes from the stain that I could NOT cover. I tried Kilz Stain Blocker and then layers and layers of Sherwin Williams white SuperPaint on top - and can still see the stains. Grrrr. Any suggestions to cover those areas better?

To keep cost down we didn't order a continuous runner...but you'd never know! We got 4 different 2x3 rugs and one that was 3x5 since the bottom stairs are wider and we wanted the runner to be wider as well.
The tools: a ruler, pencil, scissors, scraps of an old rug pad (and then a couple new rug pads because we underestimated what we needed), and an upholstery air-powered staple gun (and special staples to fit the gun that took me a day to track down).
I found the center point of the stair and started stapling the first rug at the top. The goal was to only staple on the white wood and try to keep staples off of the stair tread itself in case we ever want to pull the runner off.
We cut a piece of rug pad to fit each stair underneath the rug. It is amazing how much cushion this added AND it made the rug less likely to slide. I tried my best to stretch the rug itself really well before stapling it to make sure it wasn't going to loosen much as we walk on it - and I think having this pad underneath will help with that too. (and note - most of the rug pad pieces were larger than this and wrapped around the bottom of the step it was on...this one happened to be cut when we were running out of our rug pad - oops!)
The completed stair runner. See how the stripes stop matching when we switch to the wider runner? The hubs hates that but I don't mind it at all. It was a necessary thing because of the way the rugs are cut.

 Side view.
And a view from the top. The kids love it...although they complained at first that they couldn't "slide down the stairs" anymore on their bums. Score another one for mom! This was an added benefit of the runner...because let me tell ya...it's scary watching your babies tumble down the stairs because they were trying to slide head first or lay straight on their backs. Scary...and it can't happen anymore. :)
I still think wood stairs sans-runner would be the most beautiful option. But with the safety concerns with kids (and me...those stairs were slippery if you tried to go down them in socks...and had a wiggly baby in your arms). I'm pretty happy with the fun stripe-y rug.
Related Posts Plugin for WordPress, Blogger...
 
Bloglovin Facebook Pinterest Instagram Email RSS RSS