Feb 14, 2013

sweetheart art

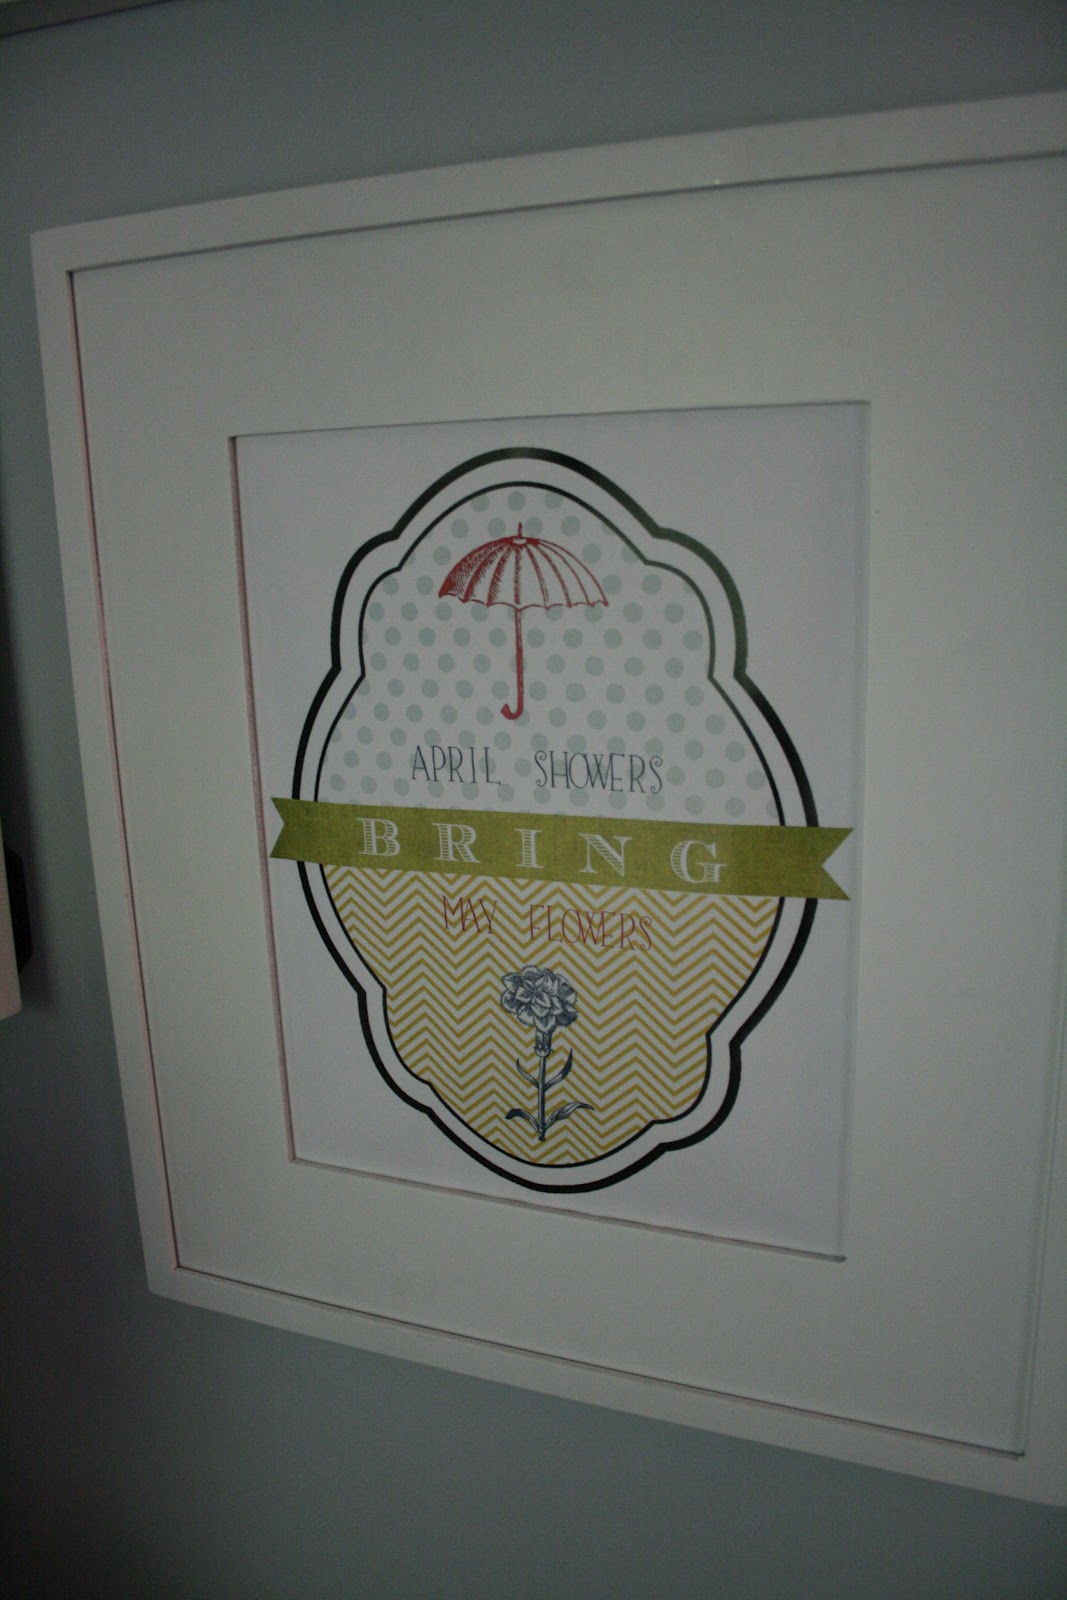
I am always on the lookout for fun art for our house that is very personal. I don't like to hang random pictures...but I like them all to tell a story and most things on our walls at the moment are things we've made or are very personal. (and sometimes I buy things if they make me laugh, like this bathroom art).

A year ago I found a fantastic etsy seller that makes hand-cut paper designs with your name or initials. I fell in love with her store and bought two pieces. They sat around for a while but are finally up...in our master bedroom!

Here's one:
And another one that I LOVE with all of our names intricately cut out of it! It's hard to tell in the pictures since these are mounted in frames, but the black you see mixed in the white is actually a piece of black construction paper I put behind the paper cutting. If we ever want to make it a fun, bright color it's as simple as slipping in a sheet with a different color. SO great!
The pictures are part of a big 'collage' on a wall in our master bedroom. It used to look really bare, like this:
I had several pieces of art and pictures I wanted to put up in this space...although our goal was to put a TV here. This was one of the walls that was completely gutted (there used to be a closet door here) and when we put the wall back we wired it for a TV to hang in the center of the wall. But, honestly, we haven't wanted to spend the money on a TV for us right now...AND who needs a TV when you have an iPad?? Netflix and Hulu, along with a couple apps like PBS and HGTV pretty much stream whatever we want to watch anyway so there's kind of no need for a TV here anymore. Maybe we'll change our minds, but for now, we went with art.

Here is the wall in progress. I traced the frames I wanted to use with magazine pages to make templates and then taped them on the wall to get the placement right.
Then put Command strips up on the wall and the back of each frame. We couldn't do nails in the wall here because of all the plumbing and TV wiring in it. We didn't want to accidentally nick a wire or cause problems. I was skeptical that the strips would work...but they work GREAT! 
And here's the almost-completed wall (with a few pieces missing that I haven't gotten around to printing/making yet):
Here are a couple more close-ups of the art:

My sister-in-law gave me this picture for Christmas two years ago. (Amanda - it's finally up - thank you!)
And this is a strange looking piece of art I made for Michael. I actually took the first tie that he ever wore for his first job and cut it to fit in the middle part of the frame. Then I took two of his other memorable ties and cut them too. This art accomplished two things, it kept the memories for Michael in an interesting way...while letting some things go out of our closet (if only we could do that with old t-shirts too). 
You can read more about the antlers here. I still love them and have no problems leaving them up year-round. Eventually I hope to get around to finishing up several more projects for this wall. But for now, it's fun to have one less blank wall, and my sweetheart art hanging up!

May 1, 2012

It's about time

A home just doesn't feel like home until there are a few pictures on the wall! And we FINALLY have made at least one wall a little more home-y.

I was inspired by the monogram wall here and the hallway of frames here. Eventually I plan to do several frame collages but for starters, I chose to do the entryway. It's like a nice little 'HELLO' when you walk in the door.

Here was my process:

First I brought out all of the frames I have stashed away in the house and also used a 20% off total purchase coupon at Michael's to buy more frames (that were already on sale 50% off). Score! But, as you can see, there was quite a mess of materials on my table while I figured out what I wanted to use.

Once I chose the frames I wanted I laid out a template on the wall (this is the technique I got from Young House Love at the link above).
Then it was time to put some pieces together and get them ready to hang. I had some empty frames stashed away that used to hold cute animal prints in the kids' nursery. I sold the prints at our garage sale last year...but one woman who bought two of the prints mentioned to me that she would just throw the frames away. So I asked to keep the frames and still sold her the prints. The empty frames are now the perfect thing to hold a handprint from each of my babies!
I just tacked the handprints to the inside back of the frame. Eventually I'll probably add some fabric behind these...or do something different to change them up. But for now, they work.
I also decided I wanted a little chalkboard for my wall of frames. I chose a frame I liked and Michael cut a piece of MDF to fit the opening. We painted it with chalkboard paint and then used glazing points to keep the MDF in place in the frame. Glazing points can be found at any hardware store and are handy little things (and cheap). They are sharp points that are used to hold glass in old windows. You simply push them into the wood frame and voila!
The final step when using chalkboard paint is to 'season' it by covering the surface with chalk. Then I wrote out a message using a chalk marker. Sadly, I bought a fat tipped marker instead of a fine one so I'm not super excited about the results...but the fabulous thing about chalk pens is there's no chalky dust! Awesome!
I found a fun (free) art print here that had the PERFECT colors for my wall. I'll eventually change this out with some of Elliott's drawings from preschool, but for now I'm loving it!
I bought this little key holder at Hobby Lobby a l.o.n.g time ago but we didn't know where we'd hang it. I like having our keys in one accessible place now. Above the keys is a shadow box that I took the glass out of and added a little zinc 'C' I picked up in a local antique store.
At Michael's I also picked up some fun patterned paper and lots of different sized 'C's. I love the mustard-y colored paper you see below. And I spray painted one of the wood Cs a reddish-orange color and mounted it on corrugated paper. It was my first time trying spray adhesive. Interesting stuff.
Here's the whole wall put together. Just imagine it with a cute little bench underneath (which I have yet to find). I'll probably make some more additions and changes but....ahhhhhhh...it feels great to finally have a little personality on our walls!


Aug 9, 2011

Web shares...art

Here are two random art pieces I saw on the Web today. Thought I'd share. :)

The Mona Lisa made out of coffee and milk


A strange sculpture in Germany


Related Posts Plugin for WordPress, Blogger...
 
Bloglovin Facebook Pinterest Instagram Email RSS RSS