
Want a fun, easy and fast weekend project to make for your kids? Well, here you go. How to Make a Balance Beam.

Materials Needed:
2 2x4s (found at any home improvement store)
2 smaller blocks for feet - about 13 inches long (can be cut from another 2x4 or use scrap wood)
Roll of expansion foam (optional - but gives a nice padding)
Heavy fabric (like canvas or outdoor upholstery fabric - you'll need about 3 yards)
Staple Gun
Hammer
Nails
Drill
Screws
Router and Sander (optional)
Start by putting the 2x4s together and nailing them every foot or so down the length of the board. (For added strength and holding power, you can use screws instead of nails.)
Note: Be sure to choose the straightest boards you can find. It's much easier to use wood that starts out straight than try to get the curves out.


Because my husband just can't help himself from going the extra mile, he also used a router to smooth the edges of the balance beam all the way around and also sanded it all down with a power sander. (he fits right in at Remodelaholic, eh?) You can do this if you want, but it's not really necessary since you'll be covering up all of the edges with material to soften them. It sure looks pretty all sanded down and routered, though.
Depending on how you want to cover the feet, it's probably a good idea to at least give them a light sanding. If you're going to cover them in fabric, there's no need to do this, but if you want to paint or stain them (like we'll eventually do) you will want to make sure there are no splinters sticking out and that the corners have been softened.

The next step is optional, although it makes the beam feel nice and cushioned. We had this roll of foam from Home Depot (sorry, I have no idea what it's called - it was for another project) and it was the perfect width to add to the beam for padding. The foam is expansion joint filler for concrete applications, but I'll just call it balance beam foam because it's perfect.


To attach the feet, just drill some pilot holes and then screw the foot in place. We used 4 screws on each foot. The placement of the feet is important. If you place them too far in from the ends, the beam can tip when someone stands at the end. You'll want to place them a few inches in from each end.

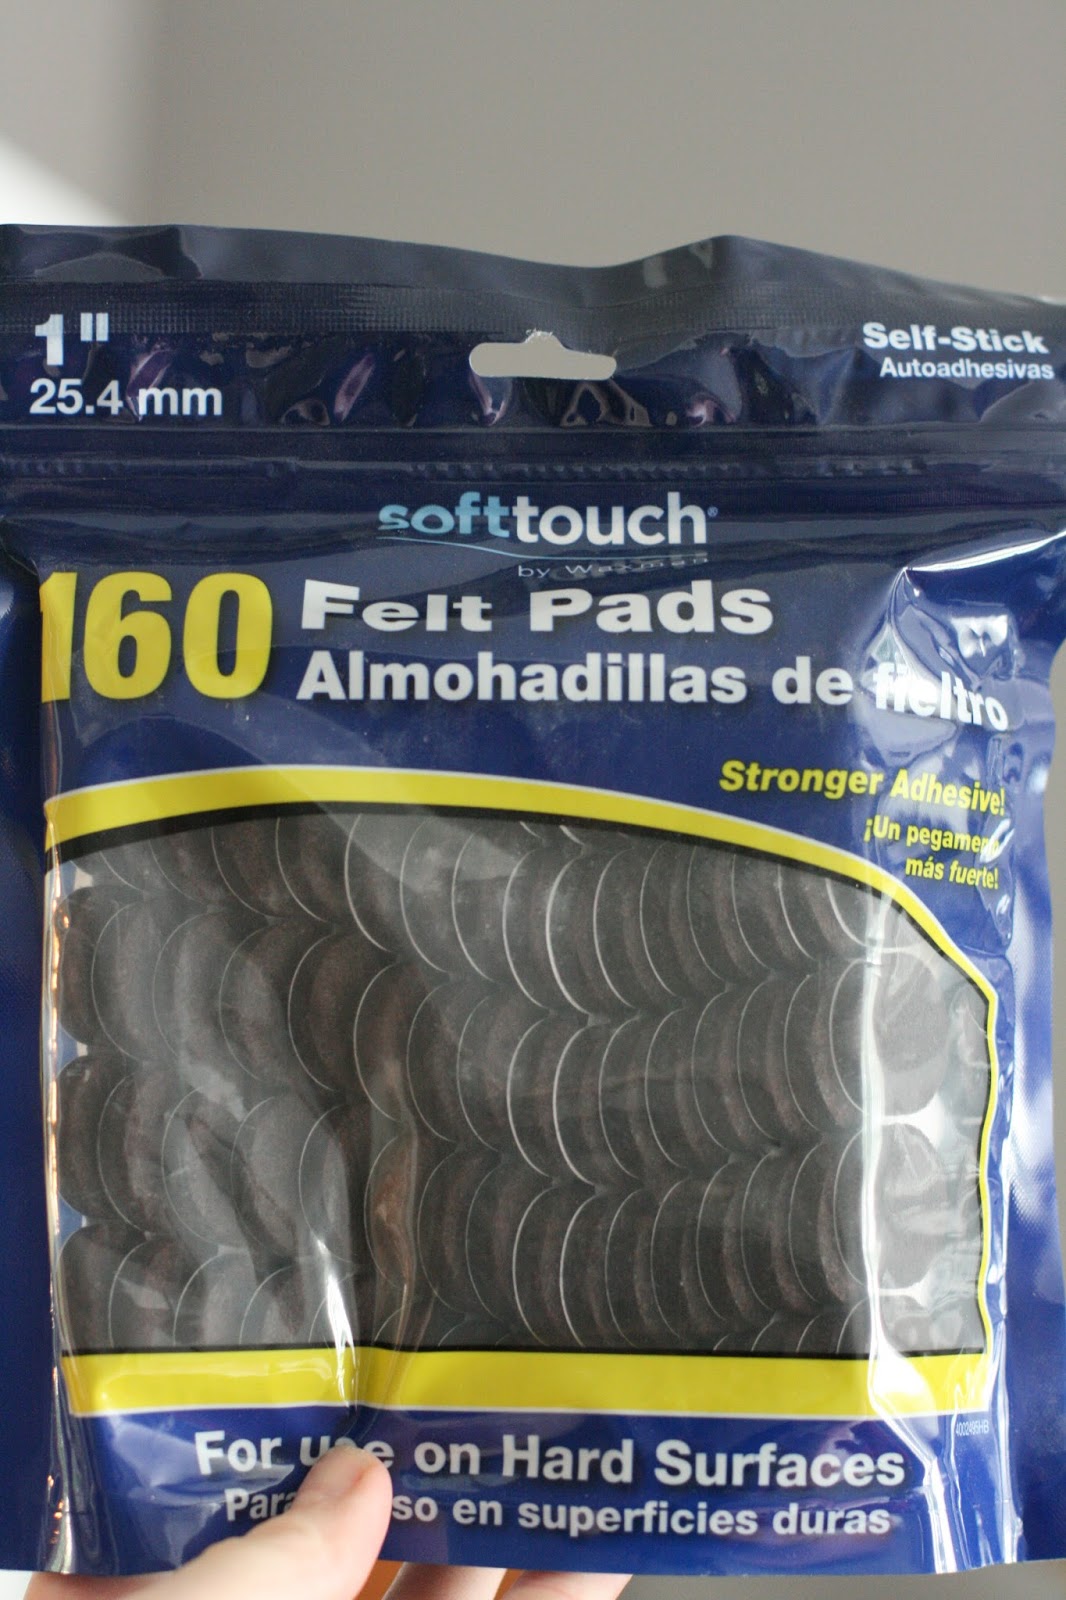
You can buy packages of felt furniture pads that are stickers. But be careful, once you add the felt the beam can slide around a bit. We like the beam to stay on a rug in the kids' rooms as much as possible so it doesn't slide.


If you make a balance beam I'd love to see it! Please share it with me on facebook or leave a link to your beam in the comments below.


This is so cool! Your kiddos sure are lucky to have you both as parents!
ReplyDeleteYou're so sweet!
ReplyDeleteThank you! We are making one this weekend and this was very helpful.
ReplyDeleteThank you for this...I am almost done with mine following your steps. I decided to use vinyl instead of outdoor canvas....it came out great!
ReplyDeleteThanks!
Does anyone else know what that foam is called? Or used for?
ReplyDeleteI think It's called "Sill Seal"....
DeleteHere's a link to the foam on a roll:
ReplyDeletehttp://www.homedepot.com/p/Reflectix-4-in-x-50-ft-Expansion-Joint-for-Concrete-EXP04050/203151902
My husband will be making this for our daughter's. Thanks for sharing
ReplyDeleteI have gone to Lowes and Home Depot and cannot fine the foam. Any ideas where else I can try?
ReplyDeleteI guess that if you have to buy materials anyway, you might as well buy a 4"x4" instead of using two 2"x2"s... Also, I would not have chosen felt pads to protect your floors, but rather the nice large silicone pads you can buy now. They're pretty thick and gives a very good grip on whatever you put them on. You get them from tiny little ones to use on flower pots, vases etc. which you put on wooden furniture and square and round larger ones to put on furniture. Keeps it in place, but if you're going to move whatever it is, you have to lift it up, can't slide with those... But on this, that is exactly what you want to prevent, so it would work out great. Also, if you have a roll or some pieces of non-stick mats (not those for rugs, but those for table runners, to put under a kitchen cutting board etc.), you could also cut some pieces and put those under the feet, as a cheap and quick way to make it soft underneath and stick in place. If I used that, I would have glued it in place with some contact glue though.
ReplyDeleteI have used the non stick mats (from rolls of 2-3 yards @ approx $1 a roll) on some things, e.g. Ikea had a [hopeless for the purpose] cooking book holder that you assembled from "steps" you bought separately, it looked like little 2 step mini stairs, in aluminum and aluminum netting. I thought it would be a perfect little staircase for my Yorkie, to get up onto the coach. But it would not stay in place and at the time the silicone dots weren't commonly available in stores. So I cut strips of a roll of non-stick mat and glued them on the 3/8" "flat iron" feet of the staircase. Worked great for years (I just retired the staircase, since I got a new coach with chaise, my dog uses something else that's sitting at the end of the chaise anyway to jump up onto the chaise lounge and walk to where she wants on the coach from there, well, most of the time, it's of course my fav place on the chaise - barely get her to move for me, he-he)...
Approximately how much did it cost to make this beam?
ReplyDeleteFor anyone still wanting to know what the foam shown is called.... It's "Sill Seal" it is usually used between in wall construction as the seal between a row of brick and wood wall construction...
ReplyDeleteI have gone to Lowes and Home Depot and cannot fine the foam. Any ideas where else I can try?
ReplyDeleteKitchen flooring is far and away the best feature in your room which will extremely build your room look best and thus once creating a brand new room or transforming a current one, you would like to devote a while to explore the simplest room flooring choices therefore you'll be able to opt for the correct selection for the house. Click Here to read more.
ReplyDeleteOr,
Read more at:
https://matforkitchenfloor.com
Padded mat for kitchen
WiFi Password Hacker Software & Apps Pro Serial Key Crack are the excellent software used to hack wifi and crack your password. It allows you to hack passwords. It provides a complete realization for any wifi connection that seems incredible to you.
ReplyDeleteAdobe Indesign Pro Serial Key Crack
FL Studio Pro Serial Key Crack
Manycam Pro Serial Key Crack
Serato DJ Pro Crack software specialists announce the Serato example. This is a sampling plugin, which aims to achieve the speed and lightness of a typical DJ working environment within a full-fledged workstation.
ReplyDeleteFree Netflix Premium Pro Serial Key Crack
DDMF Vst Pro Crack
Miracle Box Pro Crack